Quick Start Guide
Follow this quick start guide to download and start QBlade-CE, no installation required! In this Quick Start Guide you’ll see how to load a prebuilt model, launch your first time-domain run, and inspect results in both 3D view and 2D plots.
1. Download QBlade
2. Start QBlade
Windows
To launch QBlade on Windows, open the installation directory and double-click the QBladeCE executable. No installer or additional setup is required.
Linux (tested on a fresh ubuntu 20.4 64bit)
Before running QBlade, install the required system libraries by executing the following command in the console:
sudo apt-get update -y
sudo apt-get install -y libqt5opengl5 libqt5xml5 libquadmath libglu1-mesa libssl-dev
From the console navigate to the unzipped QBlade directory. Now you can start QBlade by executing the wrapper script run_qblade.sh with the following command
chmod +x run_qblade.sh
./run_qblade.sh
3. Load the Project File and Start the Simulation
Load a Project File
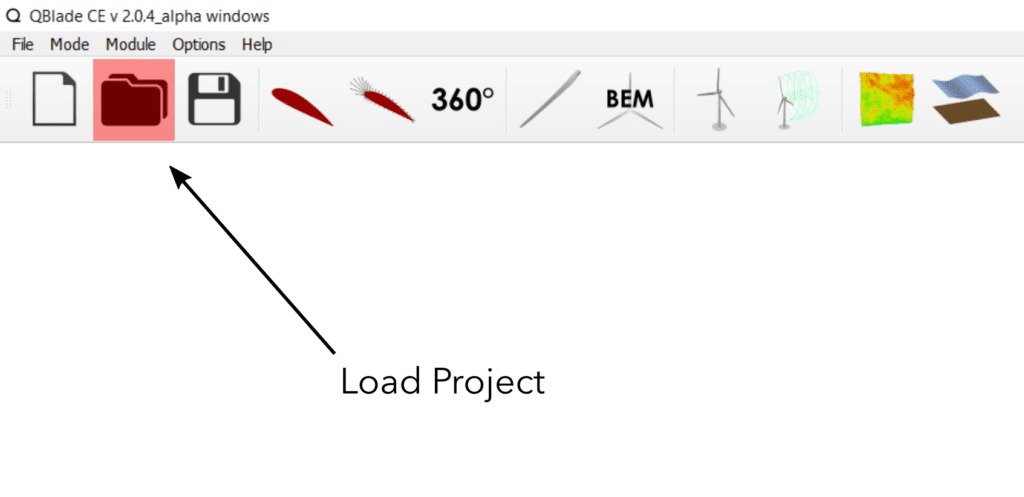
After QBlade launches, open the sample project by clicking Load Project in the GUI. In the file dialog, navigate to the /SampleProjects folder inside your QBlade install directory and select OC3_Simulation.qpr.
Start the Simulation
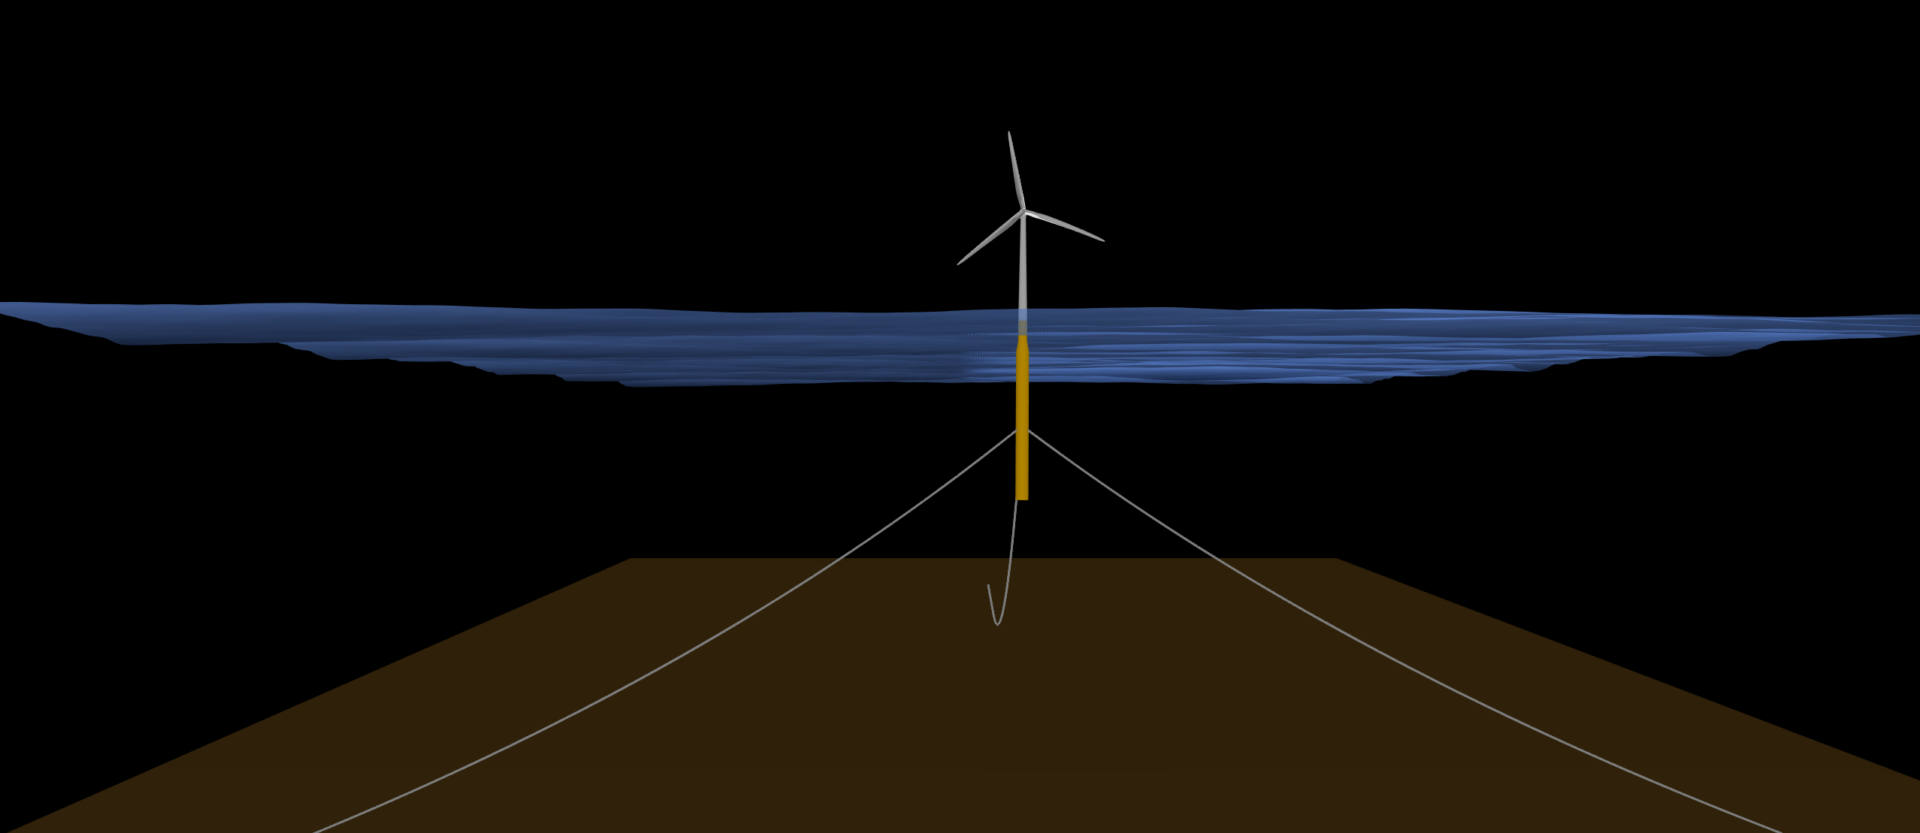
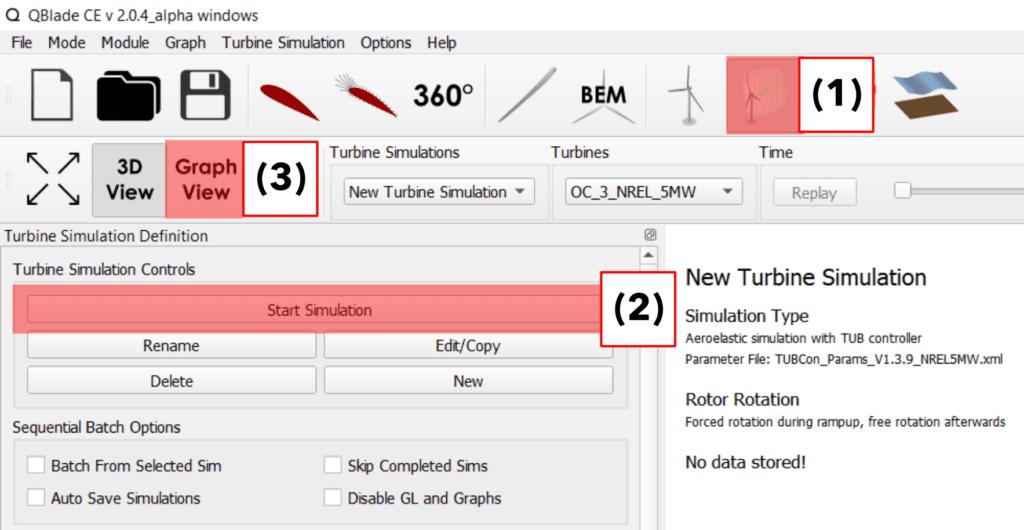
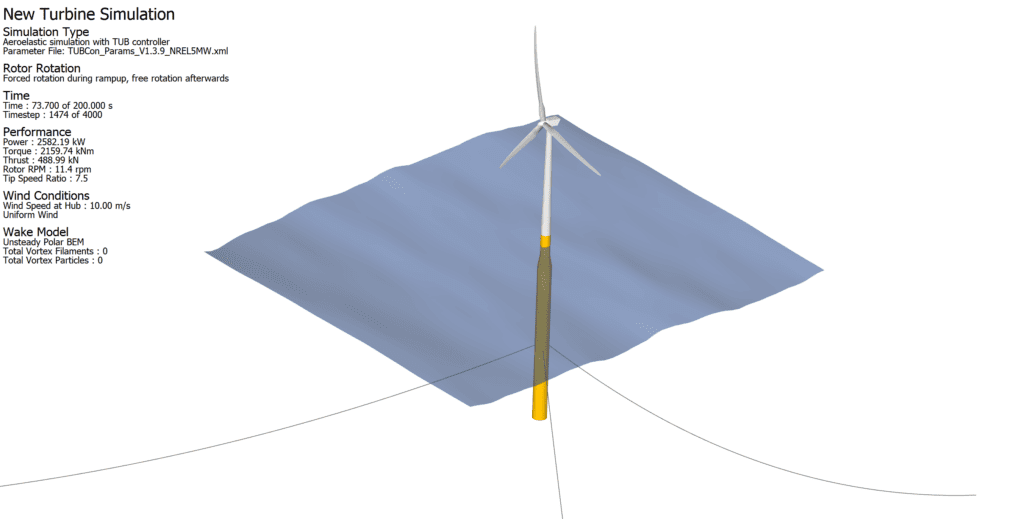
After loading OC3_Simulation.qpr, open the Simulation Module (1) by clicking the turbine icon. Click Start Simulation (2) to launch the run. The GL View will render the model in real time, and after the 20 s initialization ramp, QBlade will begin recording results.
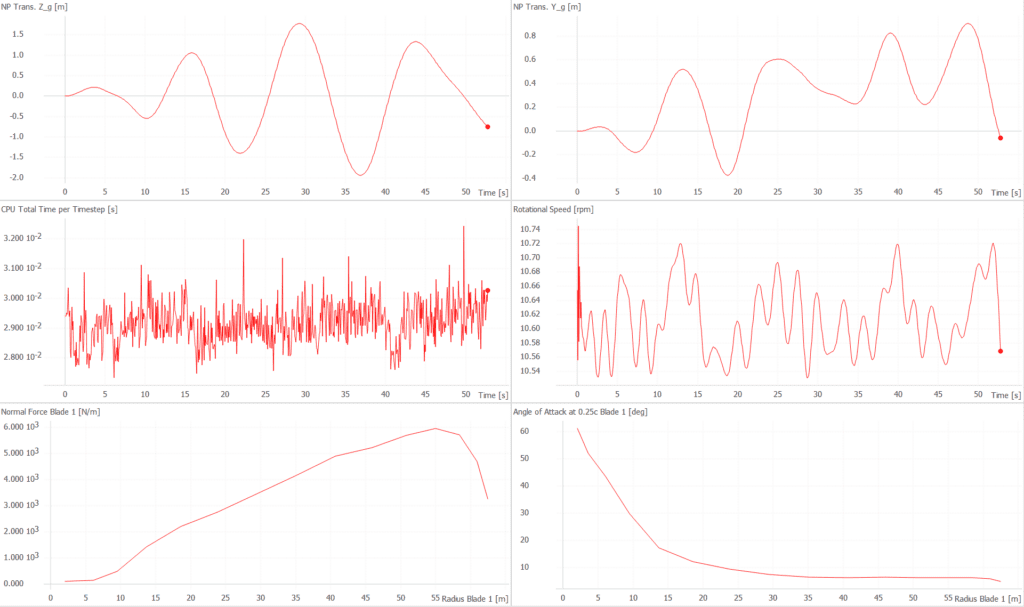
Switch to the Graph View (3) to monitor live data streams – such as rotor power output, thrust, blade root bending moments, aerodynamic load coefficients, and platform motions – updating continuously throughout the simulation.
4. Check out the Documentation
To explore additional QBlade-CE capabilities or start designing your own turbine models, see the Documentation and Users Guide for detailed instructions, examples, and API references.